Category Archives: Crafty/DIY

The Remodel (Phase 1)

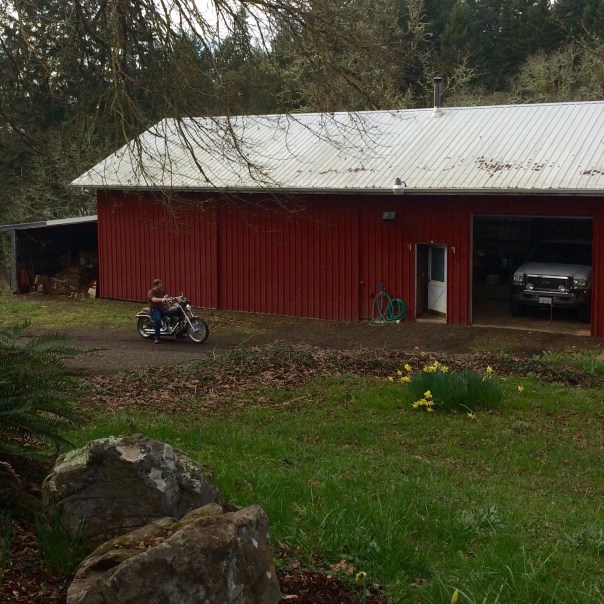
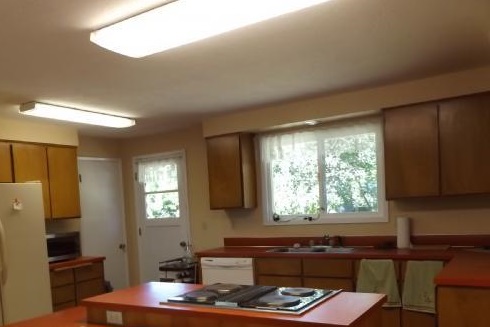
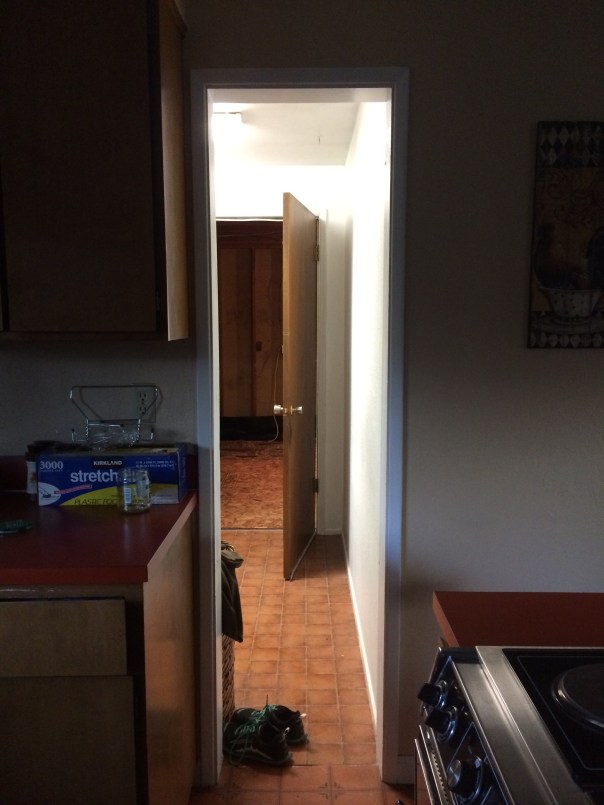
If you have been to our house, you have seen our awkward laundry room/garage/master bedroom situation.  We bought the place knowing we would have to do a major remodel to make things make more sense.  You see, our master bedroom is attached to the back of the garage.  And there is no connection to the main house.  You have to go out the laundry room, into the garage, then out the back door (to outside) then through the master bedroom door.  Awkward!  This past week we started phase one of this remodel and its complicated.  I will try my best to guide you though whats happening.  Its pretty exciting.  Here is the entrance to the master bedroom from standing at the  kitchen back door.  You can see it shares a wall with the garage but technically no matter which way you go, from the kitchen or the garage  you are still walking outside to get there.

IMG_4236

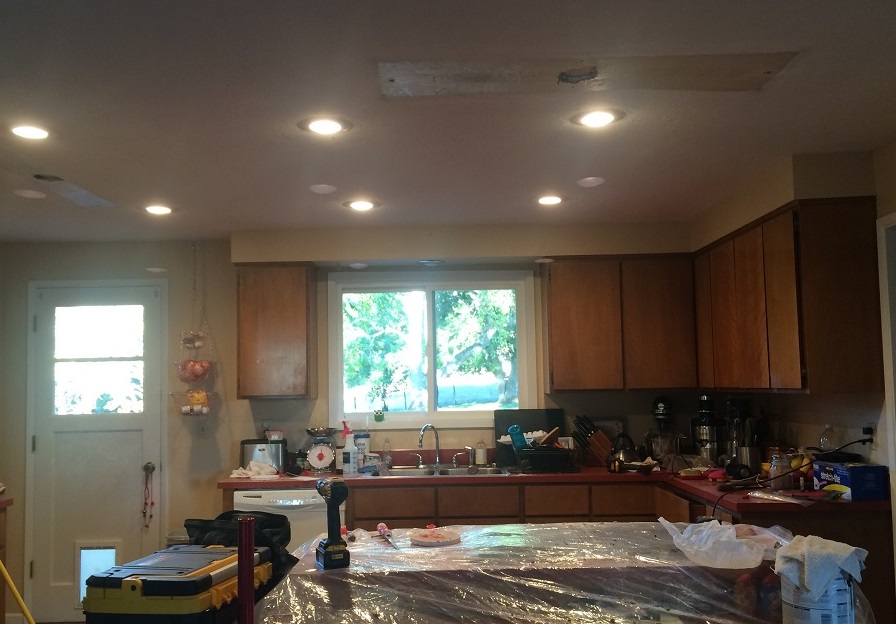
Inside you have a super narrow tiny doorway going from the kitchen into the laundry room then a door out into the garage. This photo was taken after the garage floor had been raised, you can see the sub-floor plywood.  You are looking from kitchen, through laundry room, into the garage.

IMG_4175
This is so narrow even I have to turn slightly sideways and you cannot carry a laundry basket through here, its difficult but I can see why the previous owners did not want to move that wall on the right side. 

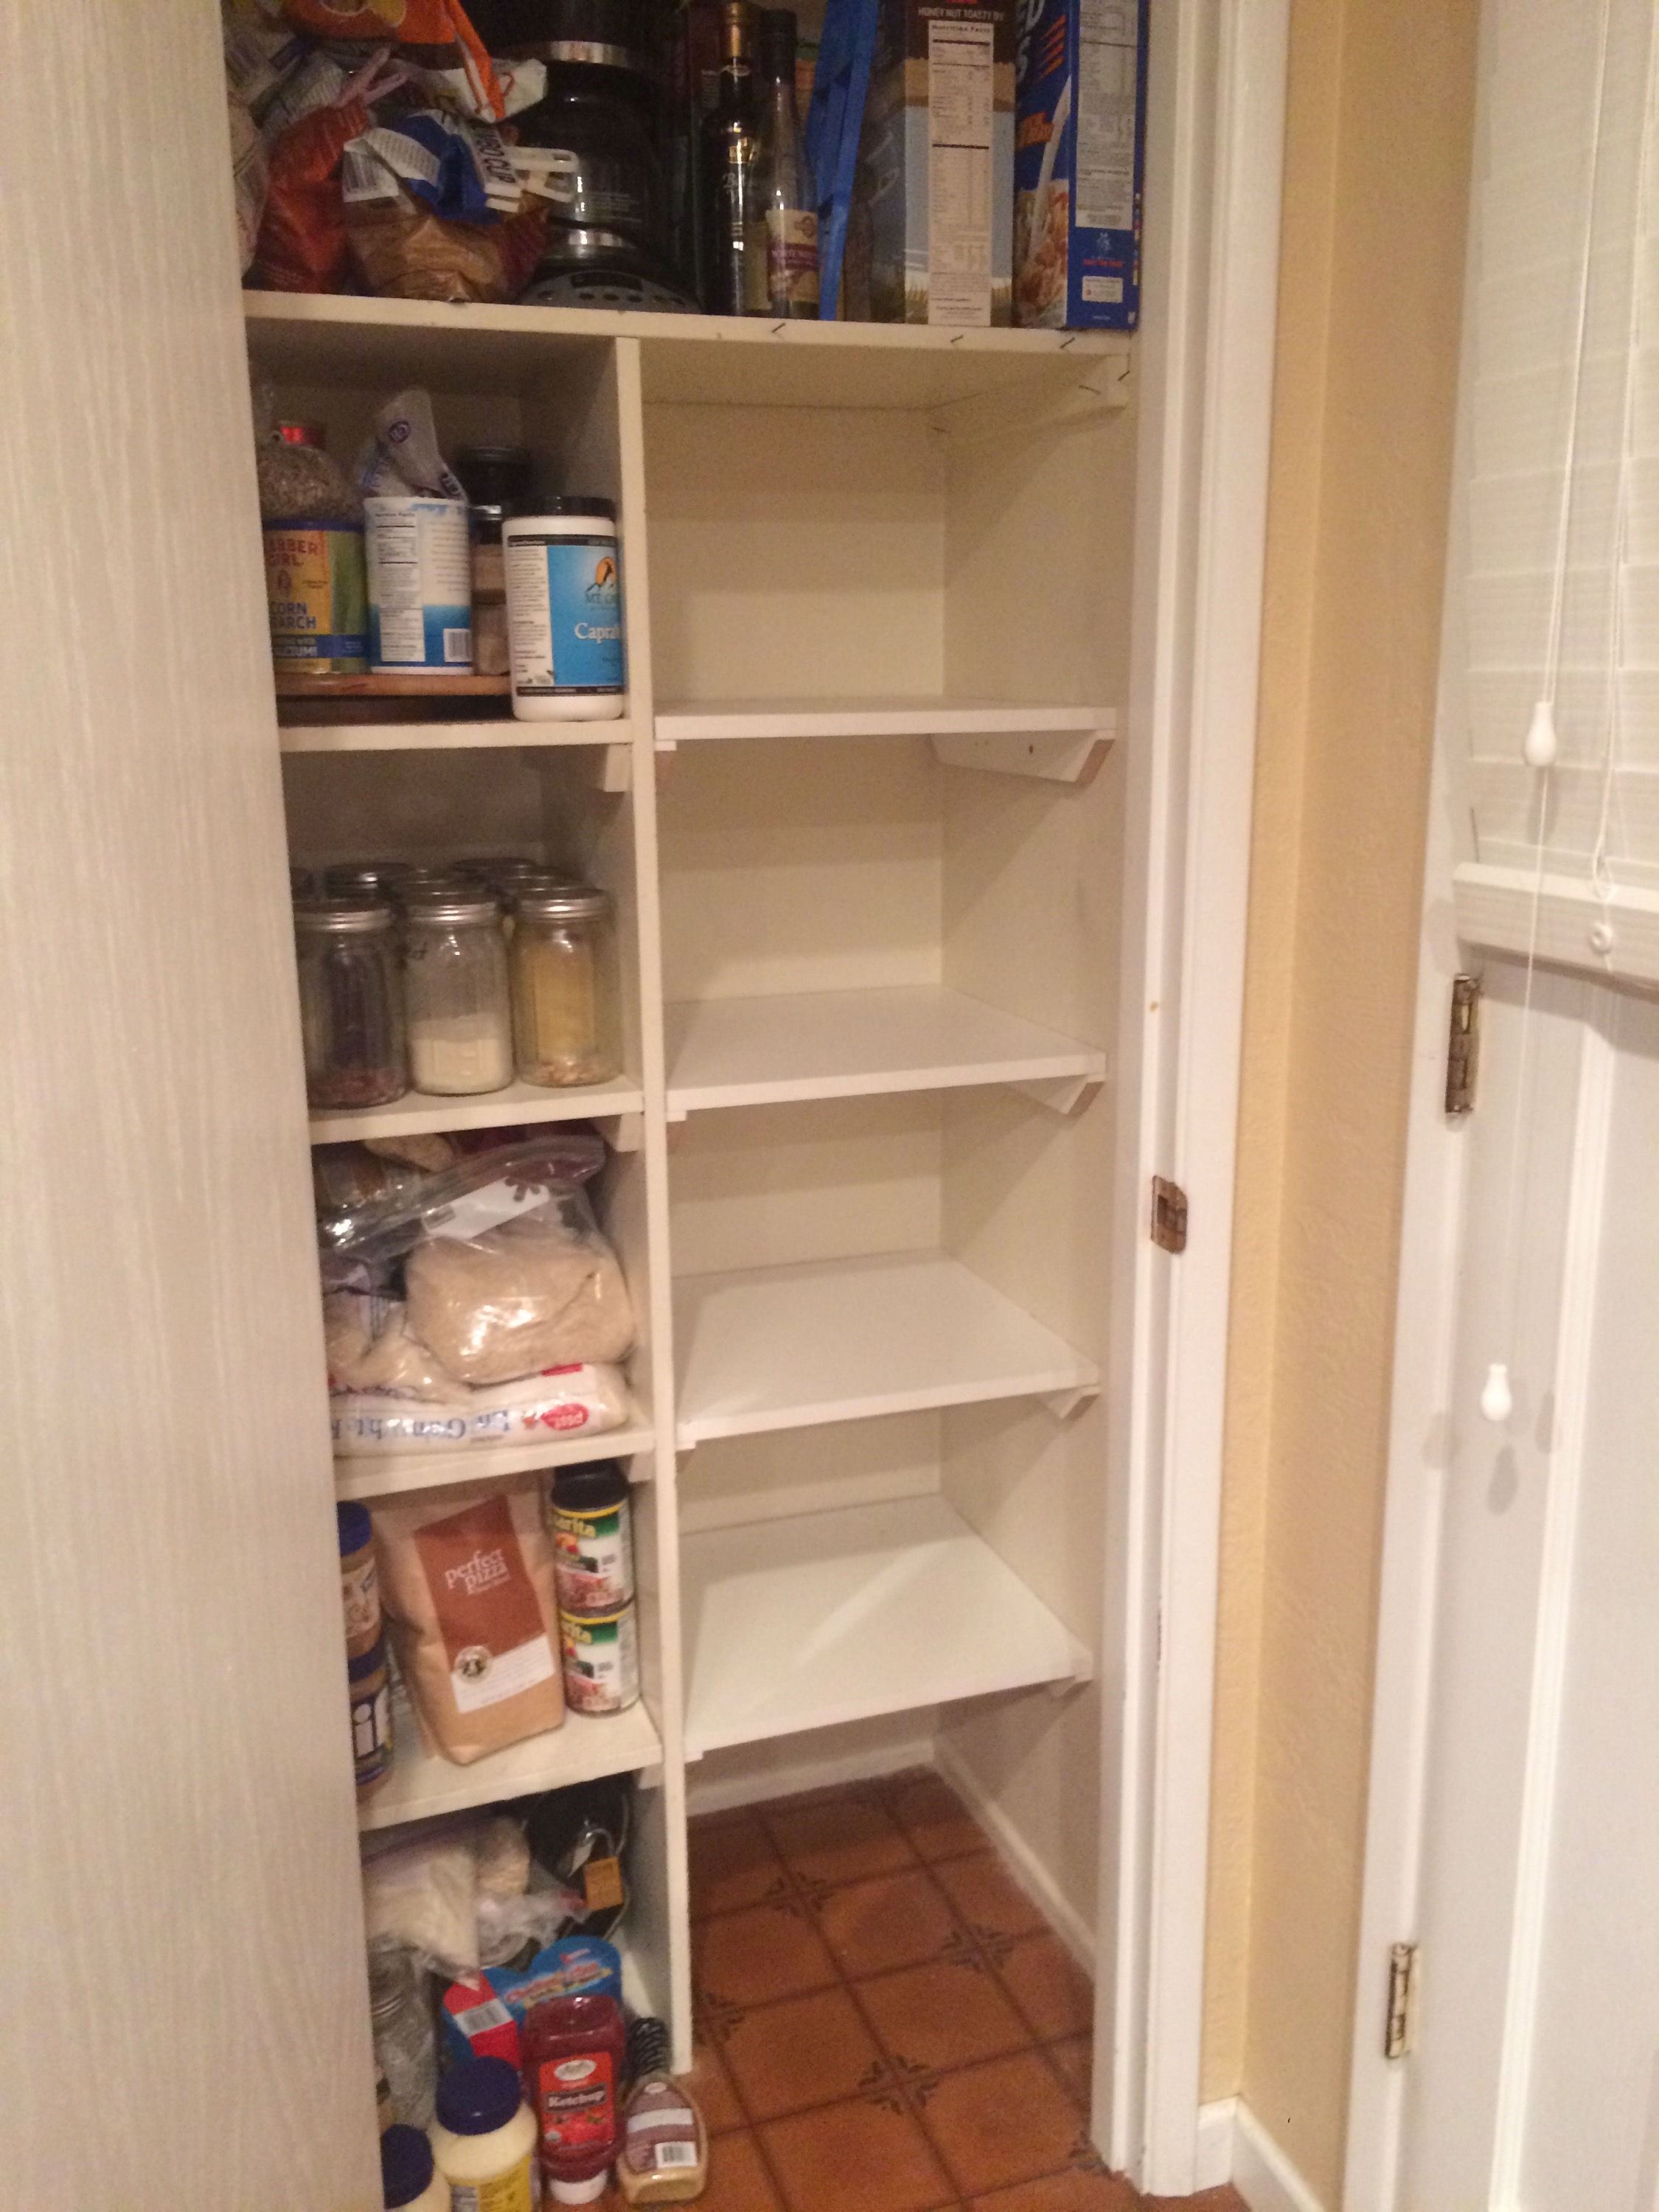
That being said, hopefully the general floor plan is understood.  Here is the new floor plan for the remodel.  When finished, the picture you just viewed (above) will be looking from the kitchen, down a long hallway leading to the master bedroom. In the plans below you can see how the back of the garage space will be taken up to form a hallway, utility closet, pantry and bigger laundry room.

IMG_4129
Left to right: kitchen, hallway passing next to laundry, new hall pantry/closet continuing to turn the corner into the master bedroom. 

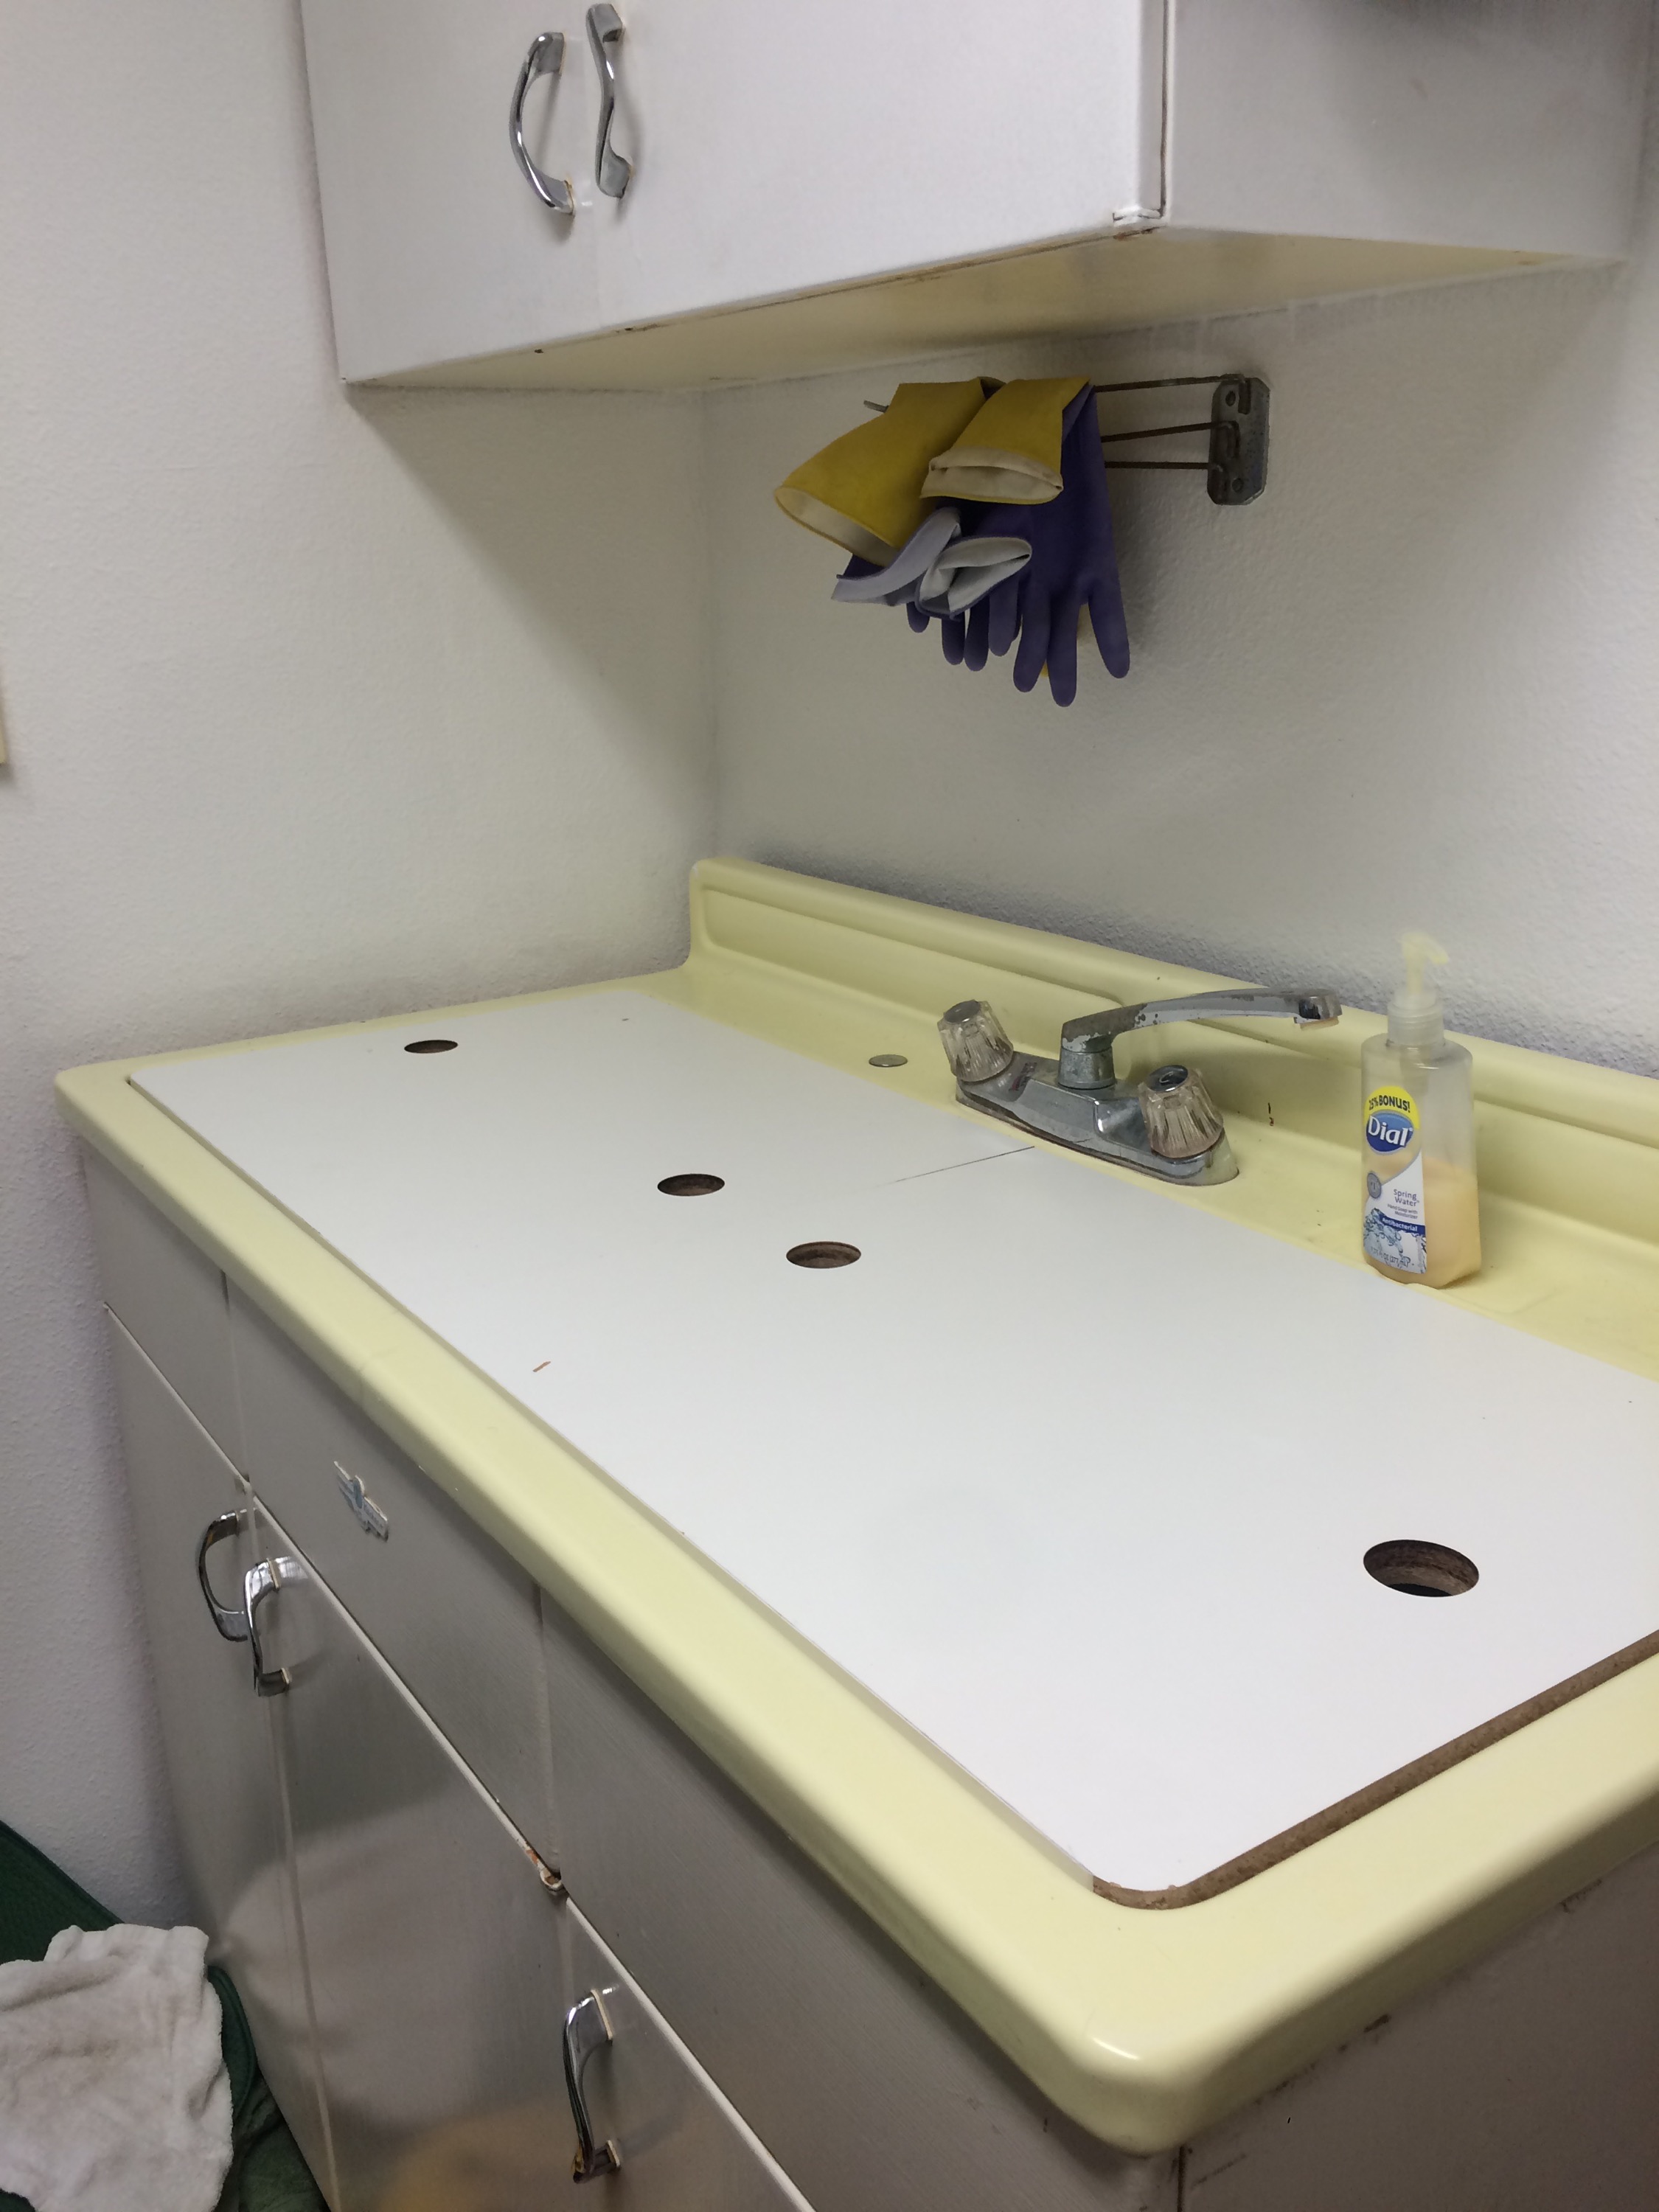
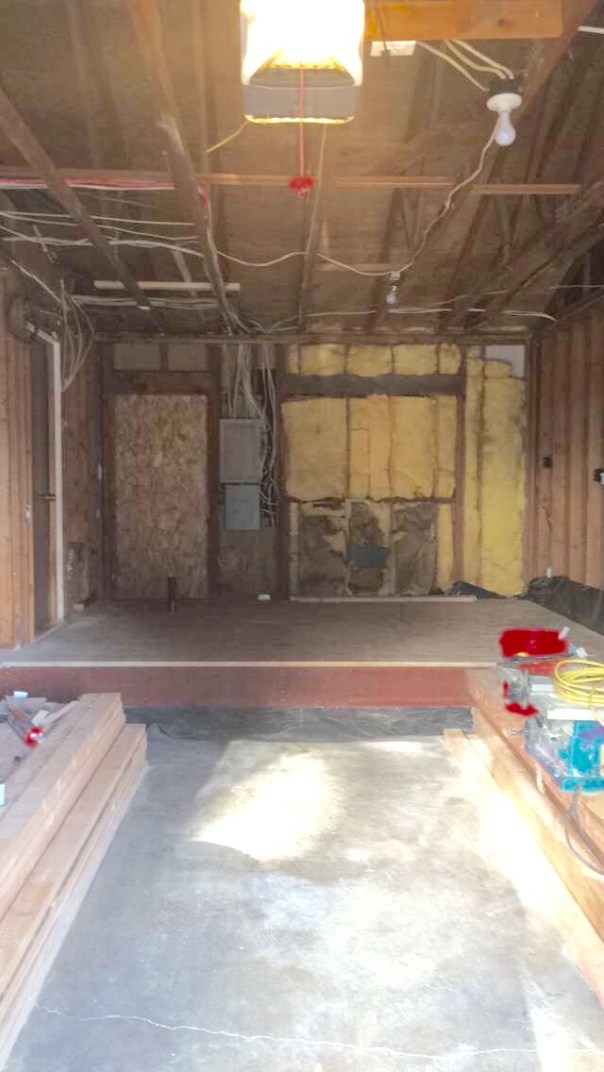
First step was to clean out the back of the garage and remove all the mess the previous owners left.  Shelving, lots of nails, dirt, spider webs and any of our stuff we had been storing there.  The wiring was clearly not done with any organization in mind.

IMG_4114

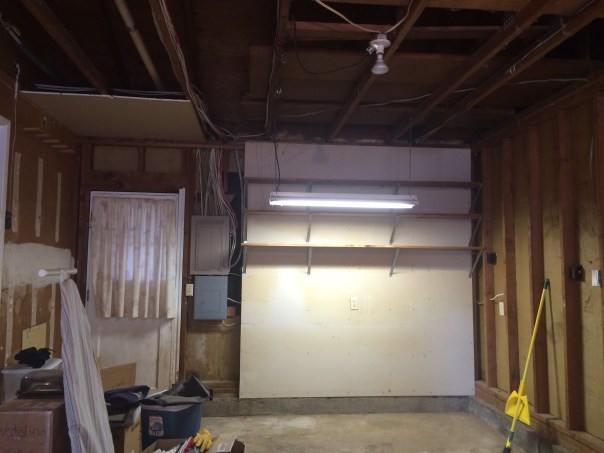
Pretty clean in the next photo below, we also took down the shelves as well as the light.  This is the back of the garage space we were looking at from the kitchen a few pictures ago. Next I took some chalk and drew the basic plan to get a better idea of what was going to happen.

IMG_4118
Those are my standard width pink walls 🙂

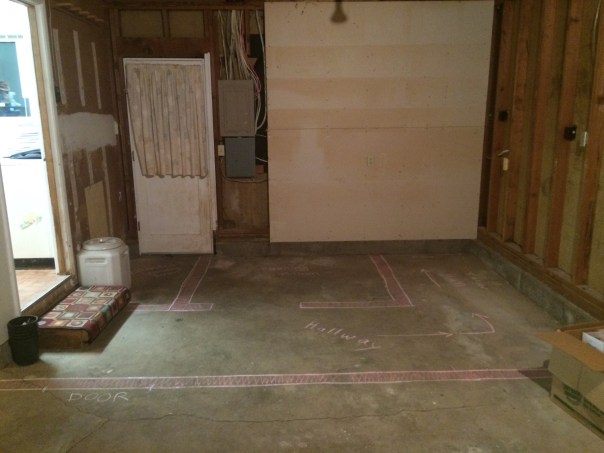
You can see what part of the back of the garage will get swallowed up by the remodel.  But you can also see how we will be able to walk from the kitchen, down the hallway and turn to go into the master bedroom.  Just follow the arrows.  The back door from garage will go away and that few extra feet there becomes a bigger laundry room.  Remember that teeny tiny doorway out the kitchen?  The hardest part of this project is making that teeny tiny doorway full size to have a standard width hallway. It doesn’t sound that hard to move a wall unless the wall needs to be where a water heater currently sits.  Plumbing and electrical make this little move a HUGE deal.

IMG_4119
Standing in what will be where I park my car the DOOR chalked is the new door from the garage parking into the house. 

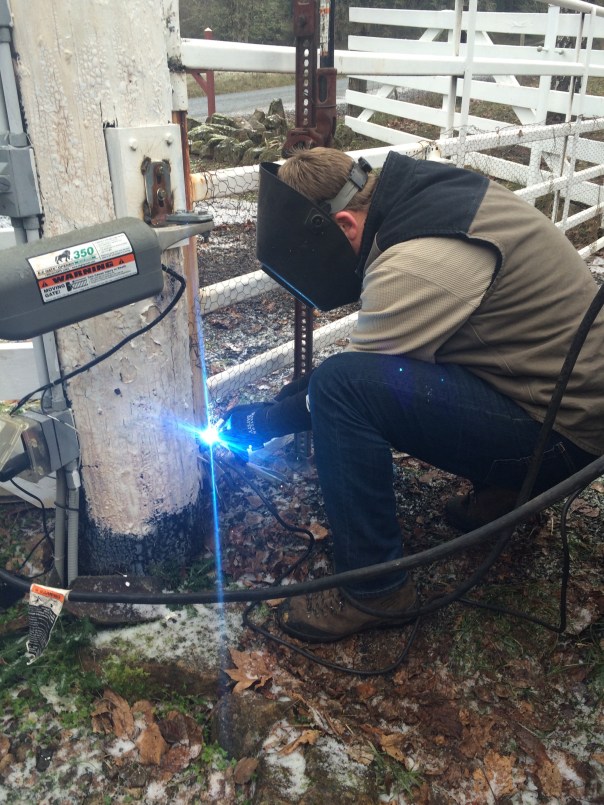
As you can see, then new wall runs right where that 1991 huge water heater sits.  To make matters more complicated, the heat pump is sitting barely in view just to the left of the water heater.  That could not be moved, at all.  We had to work around the heat pump. The future site of the water heater is the small circle in white chalk about a foot from the current position.  This space will become an interior closet accessible from inside to house the water heater and heat pump and maybe my mops, brooms, etc.  We will refer to this as the “utility closet”.  We found a great contractor to help us out on this one.  Its just far too time consuming.  As awesome as we are at DIY, we just don’t want to do this one ourselves.  First day of construction Todd (who is great) framed and built the new floor in the new space as well as future utility room.  Here in wet Oregon a black vapor barrier is always added under houses.

IMG_4177
New floor going in.

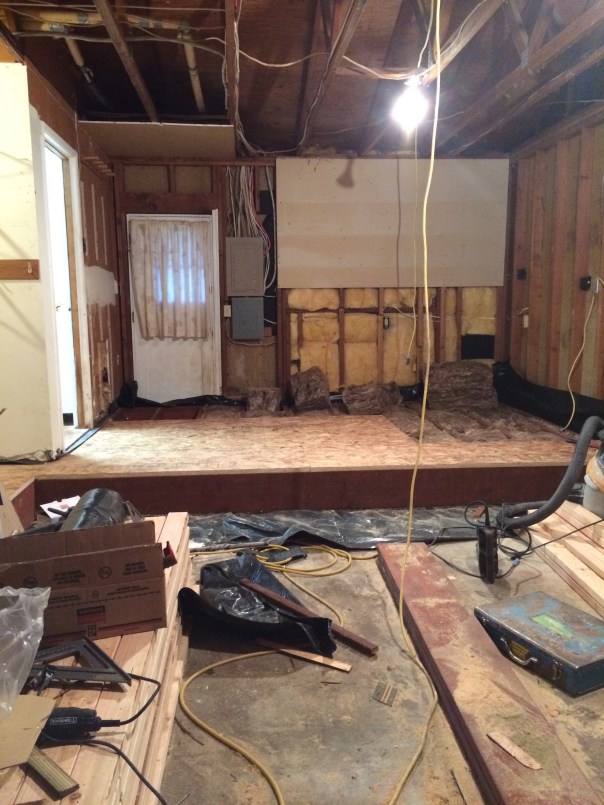
After the floor was framed, sub-floor and insulation was put in.  Basically as much as he could do before the plumber and electrician showed up.

IMG_4185
Floor is in place, studs now outline where future walls will be
IMG_4227
New laundry plumbing sticking out of the floor. 

There was some concern that a water heater from 1991 may not work once it gets moved.  While its functioning great right now, it seemed like a good idea to replace it.  The new one is narrower and fits better in the utility closet anyways.

IMG_4228

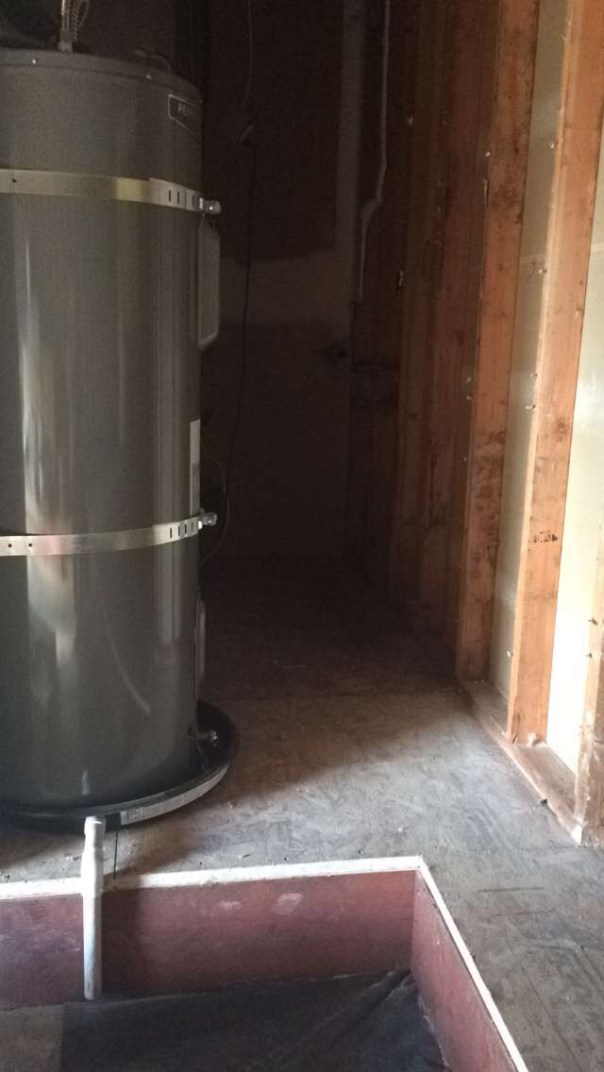
You can see now how the floor is the same height as the rest of the house, the water heater is on the opposite wall was before and all the plumbing and wiring has been moved.  Soon, that wall on the right is coming down and moving to the left a foot. After the plumber came and did his part the electrician was here.  He had to move our wall heater in the bedroom.  We still need this for now until central heating/air from the main house is connected to the master.  Luckily in Oregon you can live without air conditioning 99% of the year.  The wall heater had to be moved because its current location sits right where the new doorway into the master bedroom will be.  That is the door that will go from the new hallway into our room.


IMG_4226-1

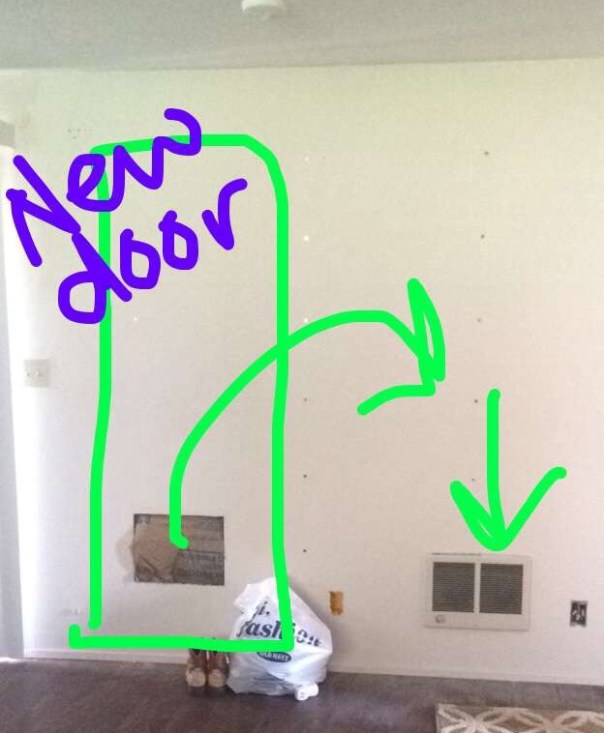
Thanks to snapchat I can draw you a great visual representation of how the heater was moved and where the new doorway to the hall will be.  Again, small changes in this remodel get super complicated as everything that was here was right in the way of everything we needed to do!  (Yeah, that 80’s paint color needs to go as well! Soon enough!)

So after the first week of construction we have a new floor and have moved every major plumbing and electrical object that was in the way.  Starting Monday the real fun begins and finally walls come down.  The current laundry room wall on the garage side comes down, the entire wall from the teeny doorway to the garage will come down and a door to the master bedroom will get cut out.  Now I am excited!  I will update this post next week as more things happen.

And here is your overdue Layla cuteness just for fun.  She didn’t nap much this week with all the construction.  IMG_4233


xoxo

An Eggcelent week

Chickens are funny little creatures that make you laugh almost every day.  This trio of new girls do the weirdest things as they are growing up and getting more comfortable.  Chicken-Diana has taken to liking her humans so much she greets you when you get home and runs to say hi whenever you come outside.  She also often follows me to my car in the morning as I leave for work.  I would love to take her to Walgreen’s but that would just be too distracting!  They also like to (peck) knock on the doors around the house.  I opened the blinds the other day to see them hanging out on the firewood having a good time.

FullSizeRender (5)
Peeking out the front door, chickens want to say hi (L to R, Florence, Diana, Mary)

In other exciting chicken news we are finally back to egg production.  Chicken-Mary had her first tiny little starter eggs this week.  She seemed to look like she was getting close so I put the fake wooden eggs in the nest boxes for encouragement.  I checked later that afternoon and sure enough she laid a cute little tiny egg. Penny also seems to be thinking about laying eggs again but we don’t expect very many from her anymore.

IMG_3994
Chicken-Mary’s little starter eggs

For months I have been wondering why Layla is digging so many holes along the back of the house.  It started with a couple spots of narrow holes probably out of boredom.  Here lately, there have been several large ones behind the hydrangeas.  Today, I was surprised to find out it may not be entirely Layla.  She digs them but I think others are responsible for making them much much bigger, rounder and chicken butt shaped!  This social gathering of bathing in the dirt is a really good sign that the flock is fully integrated. Penny was right there with them.  Diana was trying to run into the kitchen…of course.

FullSizeRender (7)
The flock that dust bathes together, stays together.

Keeping on the subject of feathered friends, there are two new guests at the pond this week.  On our walk last week, Layla and I startled two ducks swimming and they flew away.  Since then, I have watched them come back and hang out most days in the pond.  After getting a good look at them they are 2 Mallards, one male, one female.  Its amazing how camouflage the females are.  If she wasn’t swimming I may not have seen her at all.  She is just behind and to the left of the male and hard to see in the photo.  I tip-toed as quietly as I could down the hill to take this picture of them this morning.  I didn’t want to scare them away.  Maybe they will decide its safe here and stay.  Maybe there will be ducklings one day. I am looking into encouraging nesting with duck nest boxes.

FullSizeRender
Mallard ducks on the right of the pond. Male and female

Since we are down at the pond we can visit the resident salamanders again.  This time I got a better picture.  You see, Sal and Amanda like to hide.  They actually like to come up and look at  me with cute little faces THEN hide right as I have my camera out.  This time Sal played dead and floated in the water a while trying to convince me he was just a stick and I got a decent shot.  Enough to share that he is indeed a salamander. Amanda is in the weeds below, she’s never in the mood for photos.

FullSizeRender (6)
Sal and Amanda the elusive pond salamanders

In addition to being distracted as usual by wildlife we have done a few things around the yard this week.  We had a pretty sunny Saturday and it seemed a good day to visit the nursery for a few plants.  We decided to put Gardenia in the front of the house.  The green foliage and white flowers should look good with the red house.  Also, I love the smell of gardenias (we had them in Sacramento) and hopefully the fragrance will drift into the house through the open windows this summer. I also transplanted a piece of a fern in the yard to the spot right near the deck.  It should take root just fine.

FullSizeRender (1)
Starting to landscape, Gardenias should bloom and let the fragrance in the front window

Speaking of sunny days and Spring time, its time to get the motorcycle ready for adventures.  New battery in, and it got a bath and tank of gas this weekend.  Every familiar sight and (Harley) sound here makes it feel more and more like home, its feeling much more settled in around here now.  Motorcycle dates are in the future as the weather gets warmer.

FullSizeRender (2)
Spring is on its way and so are motorcycle dates

Here is a daffodil picture just for fun!  The wind knocked some down so the broken ones came inside to look pretty in a vase.

IMG_3969
Daffodil’s taken down by the wind look nice indoors

Oh look its Nessie!  She is so cute.  She is enjoying being a couple pounds lighter lately and jumping and exploring lots.  The other night I found her on the far side of the house when I went to lock her up for the night.  She also got a new cat house for the loft.

IMG_3975
lazy Nessie

There was an old two sided shelving unit in the loft when we moved in.  It looked like it may have had glass fronts at one point much like a display case (I removed some broken glass).  It is open on the top and has shelves front and back.  She has played in the shelf the whole time we have had her.  She usually likes to jump to one shelf then the top shelf then to the catwalk.  She also likes to go around to the back and hide when noises scare her.  I decided to make the shelf a cat house for her.

FullSizeRender (3)
Nessie’s new house front view

She can hang out in her bed on the middle shelf then jump up through the open top to the top bed or continue on to the catwalk and walk along the walls like she does.  There is also still the option for going to the back shelves and hiding from things when scared.  Of course there is plenty of recycled old carpet for her to have a soft landing and also to scratch and claw.  She is already liking walking and balancing along the front and sides.  The bottle shelf is a great place for her food and water as well as some storage. She loves it!  In warmer weather I will probably paint it a little cuter but for right now she doesn’t seem to have the patience for me to have her house occupied for that long!

FullSizeRender (4)
Nessie’s house top view, she likes to jump up to the top of this shelf
IMG_3954
lots of re-purposed carpet to scratch and stretch

And last but not least here is a Layla picture, just because!

IMG_3950

Happy New Year!

There has been a lot going on around here the past few weeks. Christmas and New Years, friends visiting, new chickens and more! We have had rain, freezing temps, sleet, snow and more freezing temps. We have been working hard to figure out keeping the animals warm and toasting. Here’s a few updates of the past few weeks.  We have been relaxing, building, creating, canning, welding, freezing, chicken training and more!

Chicken coop expansion 

New chickens meant more room was needed in the coop. Also, the pecking order needed to be worked out with Penny. After a lot of separation then slow visitation everyone worked it out and they are all together in a new expanded coop warming each other up and getting along great. The coop got more room in the house, new perches and a bigger run. Now its a double wide! More pictures once I paint it! Here is the work in progress before the rest of the roof and the new enclosure.

The little chickens spent a couple weeks in the garage until the hard freeze passed and they were monitored until we knew they were healthy and could go in with Penny.  There is always that one chicken that pushes the limits….Here is Florence-chicken discovering she isn’t really all that locked up.  Soon after this they discovered they can fly and  I woke up to them roosting wherever they wanted in the garage…no.  Time for the coop!

All 3 living in the garage for 2 weeks to make sure they were healthy


New Years Guests
Our friends the Kings visited for New Years and brought Milo the dog.  He gets along great with Layla.  On new years weekend went walking around the pastures and property by the pond. I forgot what a lab dog loves most….he was in the water (not bothered at all by the cold and ice) before I saw it coming. Layla enjoyed playing at the pond as well.


Yay for canning! 

Thanks to a bigger kitchen I finally have more room and a pressure canner! Can’t wait for the summer garden. First thing I made was chili con carne. Turned out great. I even made soup stock from the Christmas turkey, canned and preserved.

following the canning guidlines carefully for safety


lots of peppers, onions, spices, kidney beans….


in you go for 75 minutes…yes a long time


ta-da!

22 degrees and a frozen, broken gate


Have I mentioned much just how awesome Clinton is?? Well he is. And I have to post a pic of him being amazing fixing our gate on a frozen day. To my disappointment we barely saw any snow. We did, however have a lot of frozen bird baths, pond, chicken waters, etc.


Snow!


IMG_3546
welding the gate back, works perfect now!


Wood stove in the shop

This shop stove was refurbished from a killer deal on Craigslist. With a few parts, some rust removal and fixing up its now keeping things (and cat and dog) toasty in the shop when we are working in there. Here is Layla helping build the chicken coop.   She made sure the stove did not go anywhere the entire time we were building.  Good thing for Layla keeping a close eye on things!

Laundry room, kitchen updates   

New outlet box for the pipes is amazing and allow much better placement of washer and dryer, saving space

Thankfully, the new house has a laundry room.  It is, however, very small. The hot and cold water faucets to supply the washer and dryer were old, sticking out several inches from the wall and plugged around the hole in the wall with steel wool.  Not attractive.  It also meant the washer and dryer cannot be pushed flush against the wall.  In this laundry room every inch counts!  A smaller project this day makes a huge difference in the amount of usable space here.  And it is much more attractive to walk past than big metal pipes and steel wool.

Having the washer and dryer as stackable like the old place and taking out a cabinet was one option.  But, I really wanted side by side for this house.  This leaves little to no room for a folding table which is essential for not leaving piles of unfolded laundry all over.  My genius husband of course had a solution to this.  There is an adorable retro utility sink and cabinets already in place (they will soon shine with a little DIY repair and refinish).  Two perfectly sized melamine boards cut to fit make perfect inserts for the sink and turn it into a folding table for this space! Holes are cut to allow easy pick up of the boards to move when I need to use either one or both sinks.

Retro utility sink with folding table inserts make this a dual purpose space

New Pantry Shelves

IMG_2900

The Pantry here is small closet sized.  Originally there were only the shelves on the left.  We added an entire right side of more shelves.  With the way we cook, I need a lot of pantry space.  There are many dried goods, rice, beans, lentils, etc.  We try most things from scratch and mostly whole foods.  There is room now for lots of staples of our diet: whole grains, nuts, seeds, potatoes etc.  Then fresh veggies can be purchased weekly.  Until we can run electrical to the pantry and put in lighting its pretty dim in there.  We found some really great stick-on lights with a little remote and even a 10 minute auto shut-off from Costco that work amazing!


Kitchen Lighting Updates

It seems that every house in the 80’s loved fluorescent lighting in the kitchen.  For me, after 8+ hours of fluorescent lighting at work all day then last thing I want to see when I get home is more fluorescent lighting.  With the help of a good friend we were able to remove both large obstructive lights and put in recessed lighting.  Its an amazing difference.  It opened up the kitchen even more and the space is calmer.  I will post a true “after” picture when patching and painting are also finished

kitchen before kitchen lights after